Unlocking Value in Schematic Design, by Infusing Design Intent with Processing Power
Schematic design is an exciting time in a project’s lifecycle.
The design concept which is selected during the schematic design phase proves that the project is feasible, and provides a foundation for all later development. Given finite design resources, how does one maximize the value created, to ensure a happy client without burning out the project team? It is simple; offload tedious tasks to a machine. In short, let the computer do more of the work. There are five steps in the schematic design process:
There are five steps in the schematic design process:
1. Develop a design thesis
2. Build a model (digital/ physical/ numerical)
3. Collect metrics
4. Scrutinize the result and either refine or reject the thesis
5. Repeat until a few robust schemes are developed, then present to the client
The first and fourth steps require human creativity and an intuitive touch, which positions them well beyond the reach of even advanced artificial intelligence. However, the second and third steps both involve a lot of repetitive manual input; they are therefore excellent opportunities to leverage computational design to increase efficiency.
My work as a computational designer focuses on accelerating project design by creating domain-specific frameworks and interfaces which “abstract away” lower level concerns, such as manual modelling. In other words, I focus on creating tools which allow the designer to articulate their design intent, in a syntax that can be understood by both the designer and the computer. The computer then handles the actual modeling, quickly and precisely.
To demonstrate, let us examine a common architectural task: designing a building façade. A good façade can be understood as a mostly-rational system, even if the design intent is to partially obscure the underlying rhythms and organizing concepts. For the purposes of this article, let us assume that the concept-level design work is happening in a freeform modeler, rather than a BIM software. At my firm, we typically use Rhino3d, because of its flexibility and simplicity. From a computational design perspective, Rhino3d has the additional advantage of having a well-organized and well-documented API, as well as an active community of helpful developers.
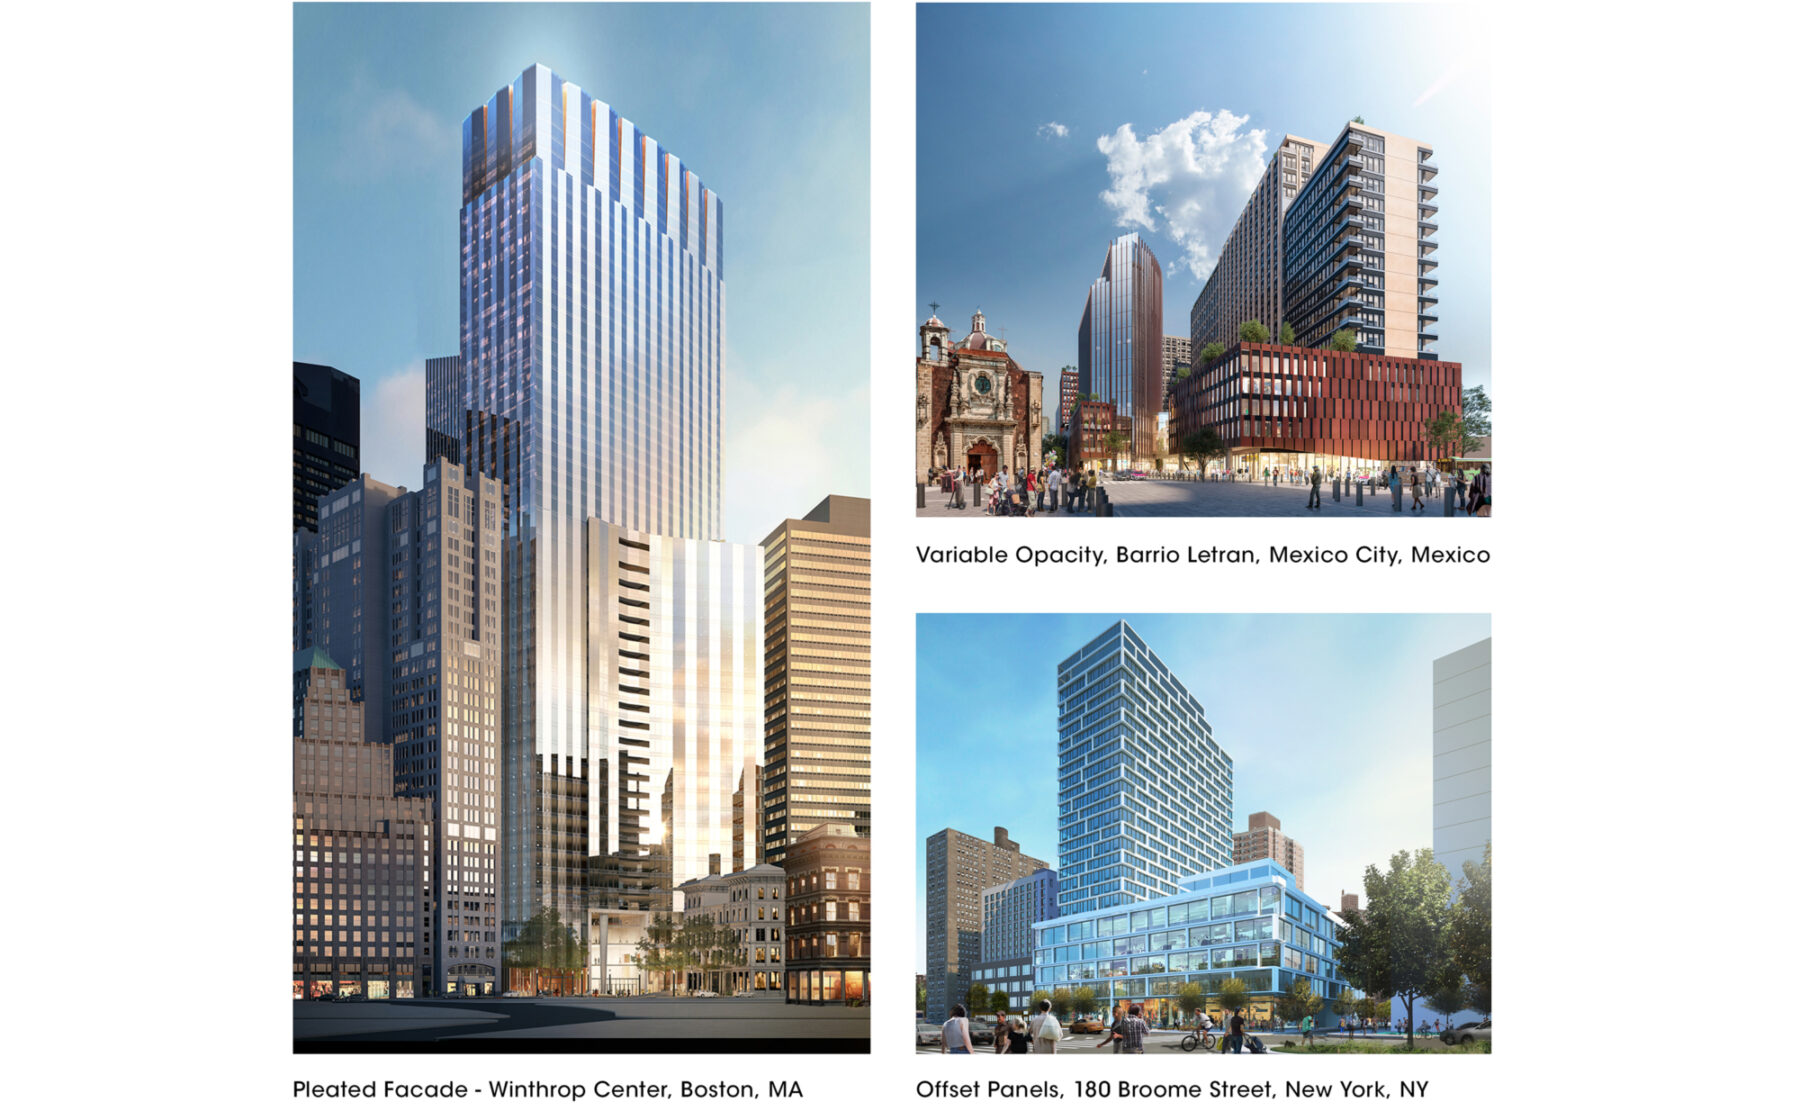
When creating a façade concept, a designer might start with a roughly compliant massing, and an initial concept to test. Some recurring concepts that I have seen in my own work include:
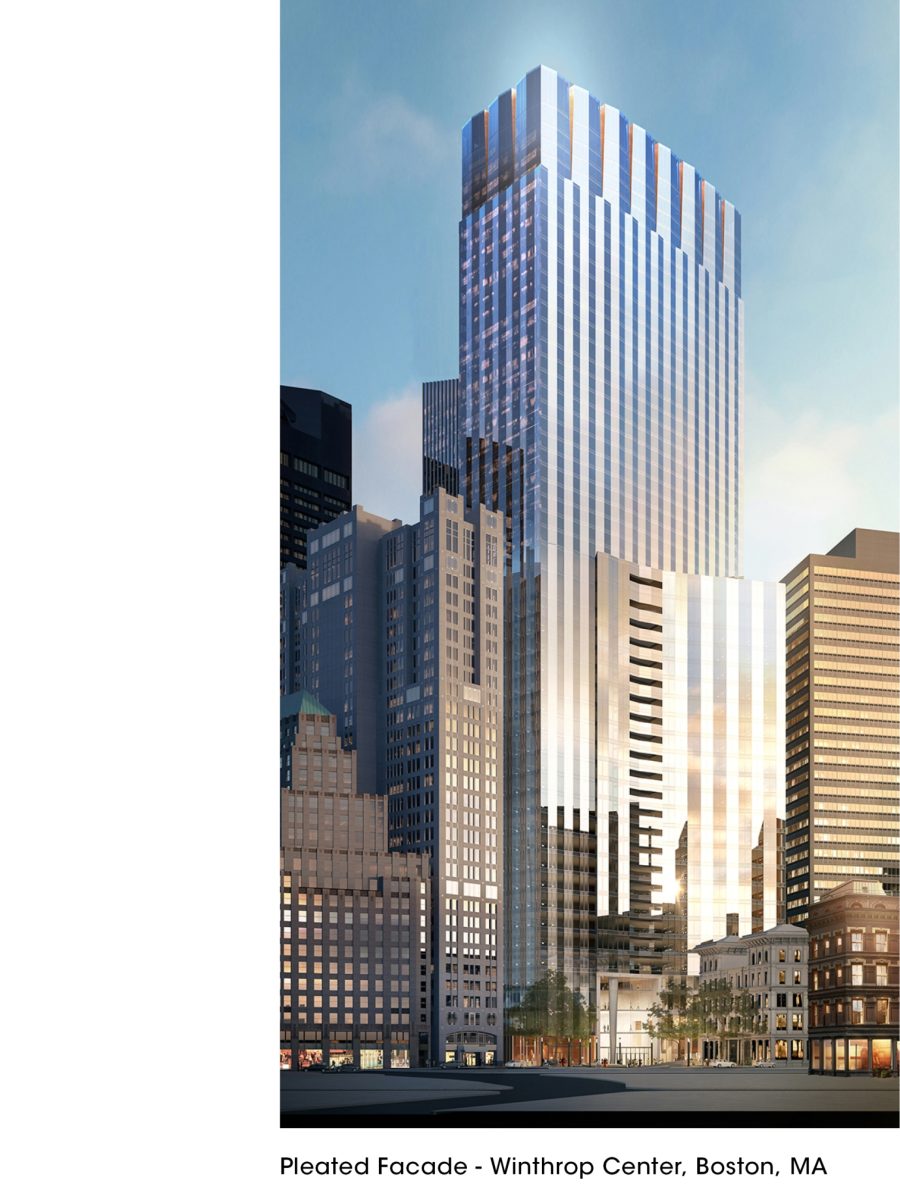
- A pleated curtain wall system
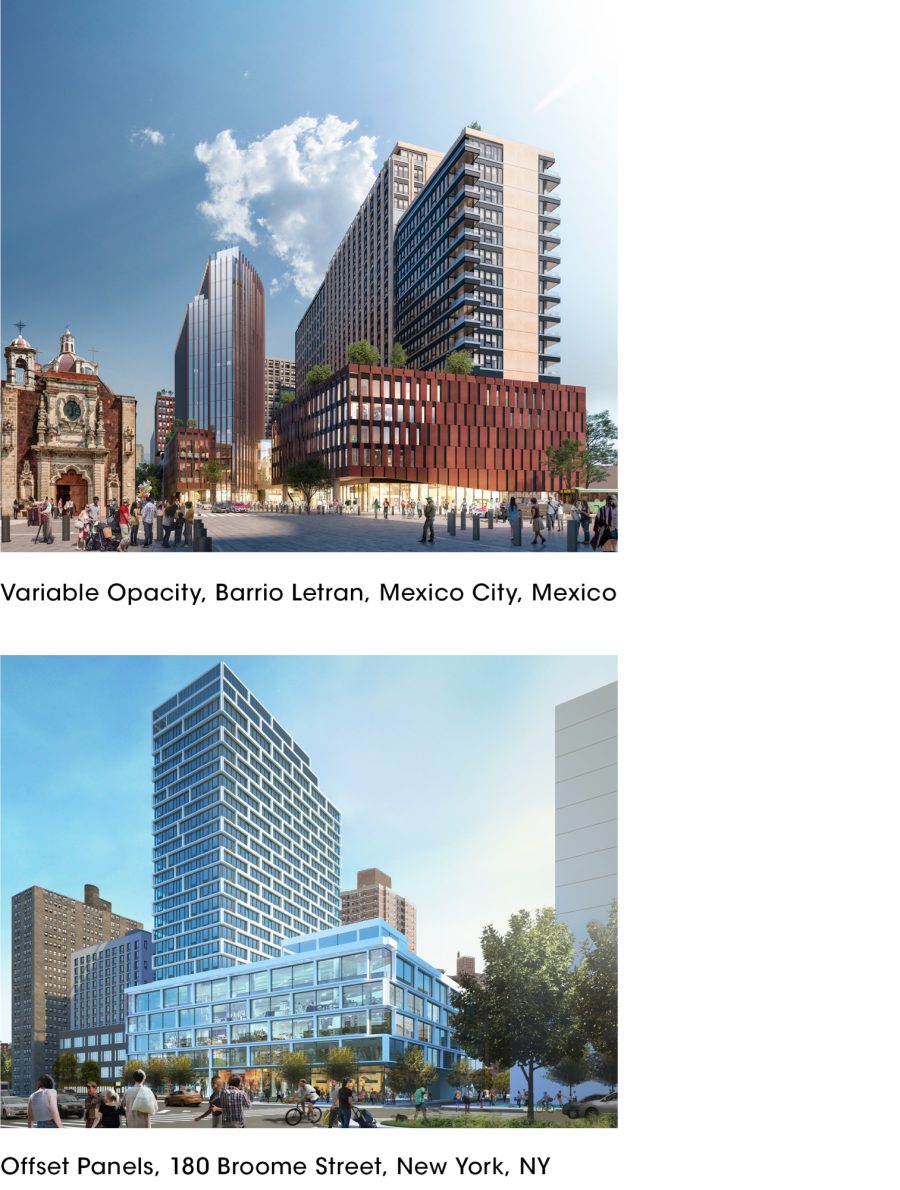
- An exterior wall system with variable opacity, which changes across the façade
- A prefabricated panel system which offsets on certain floors to visually subdivide the massing into elegant proportion
Example Facade Types in Handel Architects Work


Generating a single facade concept and documenting it through hand sketches requires roughly six work-hours.
Next, manually modeling the concept requires a minimum of sixteen work-hours. After this initial time investment, modifications could require another eight to sixteen work-hours to update the model. These can occur either as a result of changes in other domains (such as the planning module changing due to floorplan studies) or as part of development of the facade concept.
It is also reasonable to assume that at the end of the modeling process, we will need to confirm certain constraints have been met. For example, it may be important to know the window to solid wall ratio for energy calculations. Performing this process semi-manually could take another four work-hours per scheme. It is clear that both the modeling and the collection of key metrics require a lot of time, especially considering how common, straightforward, and unrewarding they typically are. These time estimates already assume that the associate is leveraging appropriate techniques like blocks, box-mapping, or groups. To achieve a meaningful reduction of production time, it is necessary to remove manual labor; thereby overcoming the limitations and challenges of “point and click” methods.
This is where one of my custom Rhino-Grasshopper plugins comes into play. I chose to name it Occamy, after the mythical creature that resizes itself to fit into its surroundings, depicted recently in the movie “Fantastic Beasts and Where to Find Them”. Occamy is a suite of tools that help the designer divide up the façade according to design intent; for example, into bays, floors, or panels. There are tools to sort these divisions into “buckets” according to designer-specified criteria such as a pattern, location, quality of view, or other characteristics. Finally, there are tools to model geometry according to user-defined rules, based on offsets from a number of parametric reference edges/ planes.
For example, changing the width of a façade “bay” would parametrically affect all the geometry contained within, according to the user-defined rules. And because the plugin lives within a freeform modeling program, any edge cases can be manually modeled, circumventing the famous 80-20 rule of programming (where 80% of the work takes 20% of the time, and 20% of the work, the edge cases, usually takes up 80% of the time).
The plugin has the additional benefit of reusability. For initial studies, scripts can be borrowed from other projects, allowing rapid testing of a slate of ideas; with the possibility of easily customizing any of them to better fit the new project.
Occamy is still under active development, but it serves as a great example of the value that custom tools can unlock. Occamy can support complex operations with a single node, instead of the dozens or hundreds of nodes that would be required typically. This makes the creation and modification of parametric scripts much simpler, and thus, much more practical. I feel that this is the right paradigm, empowering designers, and leveraging the full capabilities of computers.

